Pages

Monday, July 22, 2013

An easy present for boys!

To make this envelope cushion cover to fit a 45cm square cushion you'll need:
A piece of yellow material for the Lego man and a Lego man template. You can make this any size you like. 
A piece of fusible interfacing so you can iron your Lego man onto your cushion fabric. 
Cushion fabric - three pieces measuring 18"x18" (the front of the cushion), 18"x14, and 18"x12" (the two back pieces which will overlap creating an envelope opening. No zips!!!)

Print out and trace your Lego man onto your fusible interfacing then iron that onto your yellow fabric. The interfacing I use is double sided so I ironed it onto the yellow fabric then cut out the yellow Lego man, peel off the backing and...


These pieces will still measure 18".  You are folding, ironing and sewing the 14" side and 12" side. 


I like to use my 14" back piece first, then the 12" inch piece.  This gives the rear of the cushion a nice long covering on its envelope back. 

I say this with my tongue firmly in my cheek! I am very much in the camp of 'close enough, good enough' with my sewing, cutting and measuring!


I've made two of those now for boy's birthday presents this weekend. I may add a mini figure with them for good measure in case the birthday boy's are not huge fans of soft furnishings! 
 
Told you it was easy!

Sunday, July 21, 2013

Run Melbourne...

I ran 10km today.
Ran. 
10km.
 
People were just heading to the start here.  Don't be fooled by the empty space though!  It was super crowded!  I may have trod on several people as I was running, but was also trod on several times myself.  It all evens out in the wash!
 
My dad was in Melbourne this weekend (from Tassie) so forced him to come and watch me finish and take me out for breakfast!
 
 
There may also have been a sneaky visit to the Lindt shop for peanut butter balls.  After all, I had just RUN 10km!!!!
 
For an extra $2 you can get a text from the organisers to say what you're official time was.  It literally came through moments after I crossed the finished line.
 
10km in just under 55 minutes!
I ran that!

Friday, July 19, 2013

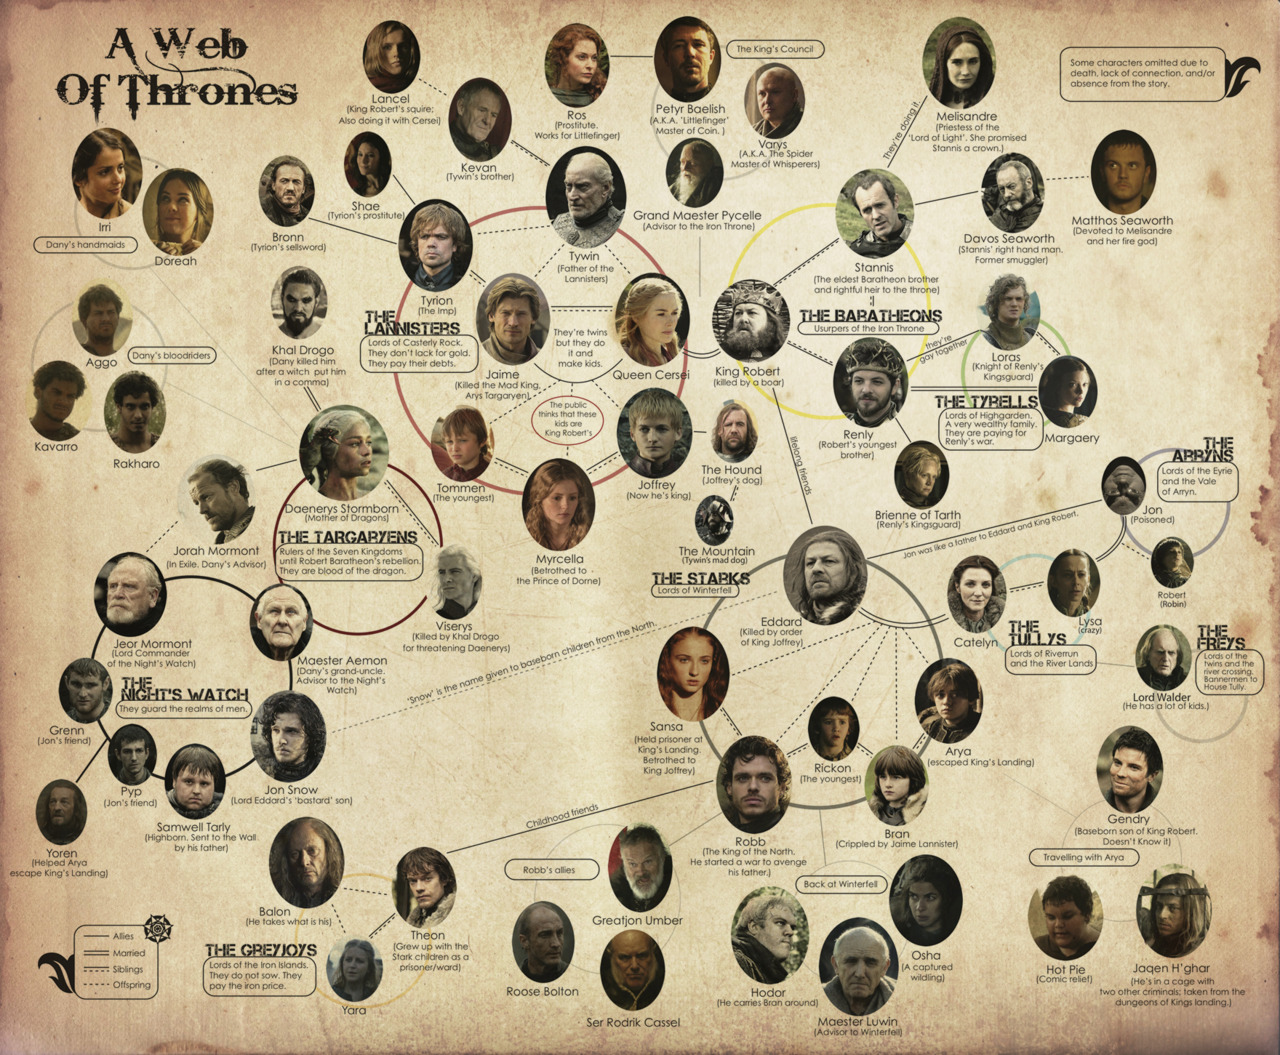
Game of Thrones...

 
Oh, how I laughed when people kept telling me about Game of Thrones.  Nerds, I thought.  Who wants to watch some medieval tale about a fight to be king.  With dragons in it too.  And wolves.  And weird brother/sister relationships.  And made up languages.
 
Then I started seeing all these pop culture references pop up and it annoyed me that I didn't know what they meant and why they were so highly amusing.  So I thought I'd download the first episode and if I could get through that then I'd make an assessment on where to go next. 
 
That was barely a month ago. 
I have emerged from the other side of Season Three.  Barely.  Addicted.  With post traumatic stress.  I cried.  In several episodes.  My ringtone is the Game of Thrones theme.  I want Jon Snow's babies.
 
Do you watch it?  Please, I need a Game of Thrones group hug and if you've watched season 3, episode 9 you'll know exactly why!


Tuesday, July 16, 2013

Crocheting with zpagetti


Ever worked with zpagetti?  Lordy me, is it hard work!  I have had a cone of this teasing me from the craft shelf for a while as every time I tried something with it I really struggled to get it started without it looking too messy.  And even though you hold the hook and yarn as you would normally, you really need to throw the rest of your body into it as well!
 
 
I've been super attracted to those rather large doily rugs you see on pinterest and thought I might see what I could come up with.  I didn't follow a pattern at all so it's pretty straightforward.  Best thing to do when starting off is to use a magic circle cause you need a big fat hook for this stuff and therefore a nice big starting circle too.  I also found it best to be a bit 'loose' with your stitches too!

 
Zpagetti works up fast and runs out quickly!  The rug I have made is only 55cm across at the moment.  I should probably get another cone of the stuff and make it bigger...


...which I will have to do anyway since I have run out halfway through on what might have been my last round!

 
Anyone else worked with this or something similar? 

Tuesday, June 18, 2013

My entry for the 2013 Hottie Challenge


I posted my hottie off to Cam yesterday, just in time for the Thursday cut off date this week for the 2013 Hottie Challenge!  It was not an easy road!!!  I planned to whip up some wee granny squares, seamlessly join them into a hot water bottle cover and send it on it's way within days.  Except those little squares take longer than you think.  Sewing in those pesky ends was painful.  Seamlessly joining teeny squares is not straightforward and if I dared to show you the other side of my work you would die laughing at how messy it looked!
 
 
My first attempt at joining them made all the wee squares stick up like bubbles.  It was annoying and frustrating since they are so fidgety to put together!
 
 
So of course I pulled them all apart and let them sit on the desk in my craftroom for a month!


When I attempted it again it was with a calmer frame of mind and a looser hand and hook!  I may also have sat some heavy books on top of it all to flatten it down a wee bit (a very technical crochet process!!!).  I left the top and bottom open so it could potentially fit a real hot water bottle and be used for what it was intended for!
 
(still a bit to pouffy for my liking!)
 
On the back is a plain white granny stripe right up to the neck.  I slip stitched the front and back together inside out so all the messy bits are nicely hidden away before I turned it back out to the right side!


I'm happier with the finished product than I thought I would be.  I love the colours and I think it looks a wee bit like a granny square blanket that your nanna might have made you... soft, squishy, cosy and warm. Just what you need in a hot water bottle cover! 

To see some beautiful, super creative hot water bottle covers pop over to Curlypops blog or instagram feed and search under #hottiechallenge2013. 
All hot water bottle covers will be displayed at Opendrawer's Gallery from Friday July 5th to Sunday July 28th.  The address is 1158 Toorak Road, Camberwell in Victoria.  They are then sold to raise money for the Margaret Pratt Foundation Heart Lung Transplant Trust.
 
*giant doily cork board from Typo


Tuesday, June 4, 2013

My creative space...

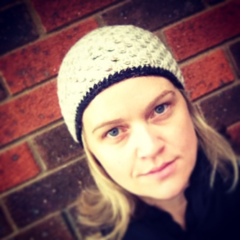
I made a beanie.  With granny trebles.  And no pattern.  Why have I not done this before? 
So super easy.
 
Prompted by a chilly morning at under 9 football on Sunday where many a mum was adorned with some kind of furry, puffy, vesty/jackety number, scarf and woolly headpiece, I felt the need to join the group... (although I vow to never venture into a puffy anything!  So not flattering... on me anyway!)
 
I can't believe how easy this was and how quickly it comes together.  And although I made a few little errors which required some undoing and redoing, it used only a ball or so of wool. 
(Initially I tried to add ear flappy bits with plaited ties hanging off them but then it dawned on me that I am not a 17 year old babe waiting on the beach for my surfie boyfriend to return from the waves and join me!)


The Pattern.... (I'm assuming you have some crochet knowledge!)
 
Chain  5 or 6 and join with a slip stitch to the starting chain.
Double crochet 12 times into the ring and slip stitch to close.
Treble into each previous double crochet adding some space between these trebles by chaining two or three.  Join with a slip stitch.
 

In the next round, three chain and two trebles into the first space, and then three trebles into each space after that.  Join with a slip stitch into the third chain of your three chain starting point.
So your beanie doesn't start folding in too early, increase your rounds slowly and keep testing it out on your own head.  Initially I increased by adding a few chains between each set of three trebles.  Then increased some more by doing two lots of three trebles with a chain in between in each alternate space of the round.  I did an increase round, then a non increase round 2 or 3 times till I felt it was going to be wide enough to fit my moon head.
 

Eventually you will end up doing those three lots of trebles into each space with maybe a chain between each set 9-10 times till it comes far enough down your head.  To finish I used a different colour and did three rows of double crochet around the edge.  I may well add a pom pom!
 
Take it out onto your front porch and take 22 selfies before you find one that you are vaguely less critical of.  Muck around with it on instagram until you find the most flattering filter while your internal self continues to berate your moon head, the bags under your eyes,  pointy chin and puppet lined mouth.
 

Enjoy at a cold under 9's football match where you lose count of how many times your child pulls up their socks and repeatedly removes their mouthguard... while only touching the actual football twice. 


Sunday, May 26, 2013

Instagram Addict

Blog.  What blog?  I had to look up my passwords to log back in, it's been that long.


Working too much means instagram has been my go-to app for quick, short, sharp catch ups and glimpses of that lovely bloggy life I used to know!  And I'm not sure whether I am completely behind the times or not but that video above.... Hilarious!!!